Always taking a chance on a new recipe...and being summer, always great times to find a new grill option. I have a love/hate relationship with the Food Network. You may think, love/hate? How do you have a love/hate relationship with the Food Network? Well it's simple, I get a daily email from the Food Network which gives me great new things to try, but hate it because it means well I'm going to have to try it.
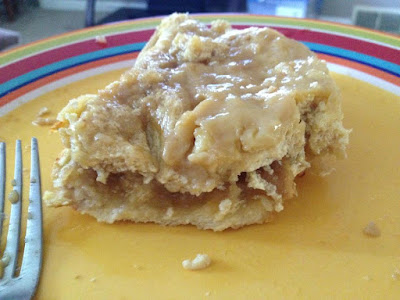
So the first BBQ Sauce "Carolina BBQ Sauce" comes from a daily email back in June and from the Neely's on the Food Network. Such an easy recipe for BBQ sauce, that is not your normal sauce. Its a mustard based sauce and had a tang to it that is amazing!!!
The second. "Coffee BBQ Sauce" can also be blamed on the Food Network because it comes from an Iron Chef, Michael Symon (who is from Cleveland) and they made this one day on "The Chew" (the daily show he is on) so I had to try it! Even if you are not a coffee fan, don't worry it doesn't really have a strong coffee taste.
So if you are looking for a different BBQ Sauce, then this is for you!
 Carolina BBQ Sauce
1/2 c yellow mustard
1/4 c apple cider vinegar
1/4 c light brown sugar
1 1/2 Tbsp mustard powder
2 tsp hot sauce
1/2 tsp Worcestershire sauce
Kosher Salt and Pepper
2 Tbsp unsalted butter melted
Whisk yellow mustard, vinegar, brown sugar, mustard powder, hot sauce, Worcestershire sauce, 1/2 tsp of salt and pepper to taste in a bowl, mix thoroughly. Whisk in melted butter.
Coffee BBQ Sauce
1 medium yellow onion (minced)
1 Tbsp Extra Virgin Olive Oil
Kosher Salt
1 1/2 Tbsp Coriander (it called for toasted Coriander Seed, but I couldn't find it anywhere)
1/2 c packed Brown Sugar (used light, instead of the dark it called for)
1/2 c Sherry Vinegar
1 c Strong Coffee (I used what we had on hand, Starbucks Verona Blend)
1 c Ketchup
1/2 c Tomato Juice
1/2 Tbsp Cayenne pepper (called for chipotle powder, but again small town hard to find)
**Note** This will need to simmer for 2 hours, should know this before you start making it at say 9pm at night.... :)
1. Sweat the onion in the olive oil with a good pinch of kosher salt in a 2-quart sauce pan over medium heat until translucent, about 2 mins (you don't want to caramelize).
2. Add coriander, brown sugar, vinegar and coffee and simmer for about 10 mins.
3. Add remaining ingredients and simmer for 2 hours. Strain and discard the solids and let cool.
**Can be stored for up to 1 month covered in the refrigerator.
NOTES: BBQ Chicken
These also been adjusted a little bit when I made them.We have made
these both on the grill on Chicken. Sitting the chicken (thighs and
legs) for about 20 mins before putting them on the grill. Heat it up to
medium heat, brush the grill with vegetable oil to help it not stick so
much. One thing we have learned from "The Chew" is sometimes it works
better to have the chicken on one side have the burners off, and then
have the other side on medium heat and finish them over the flames.
Being on the bone chicken, it will take longer to cook, be sure to cook
it to 165*F, it may take about 10-15 mins per side. Patients is key.